Sourdough Discard Brownies Crackly Top
Highlighted under: Soft Recipes
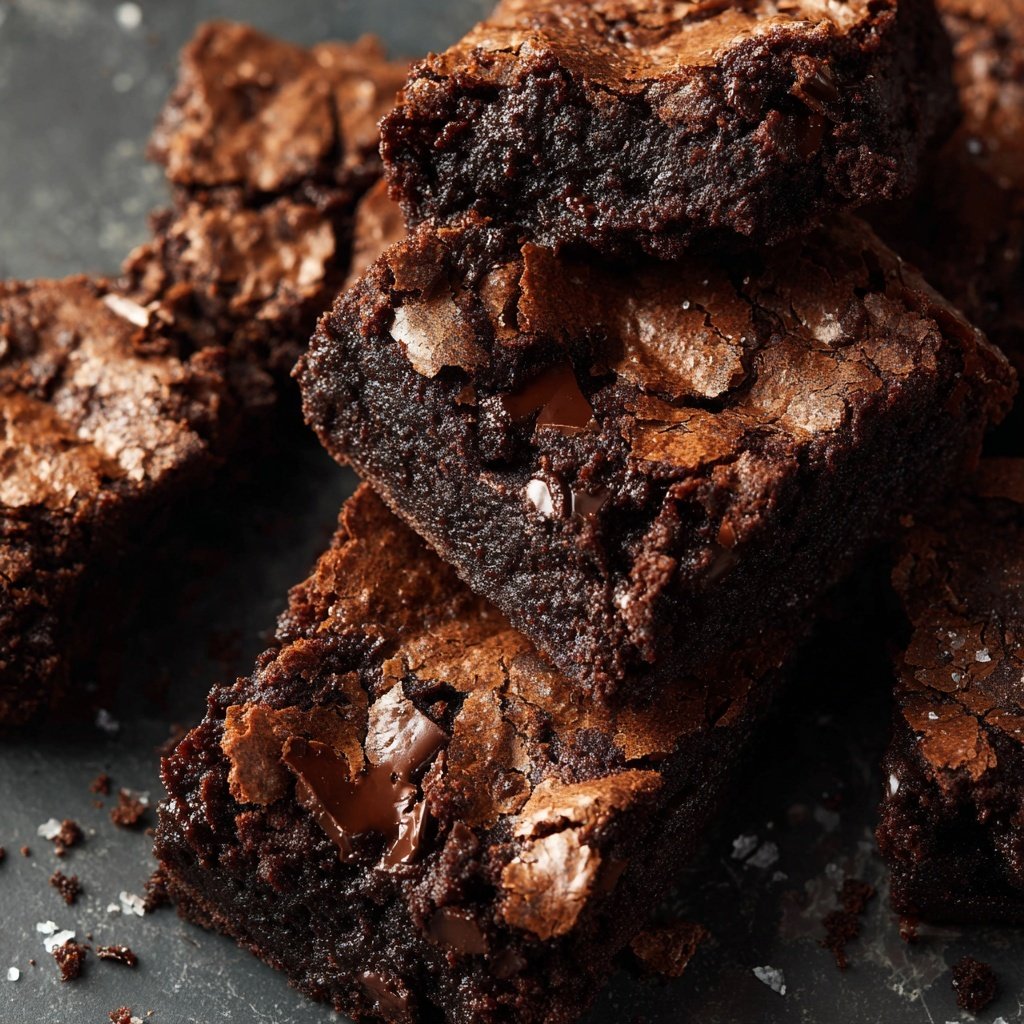
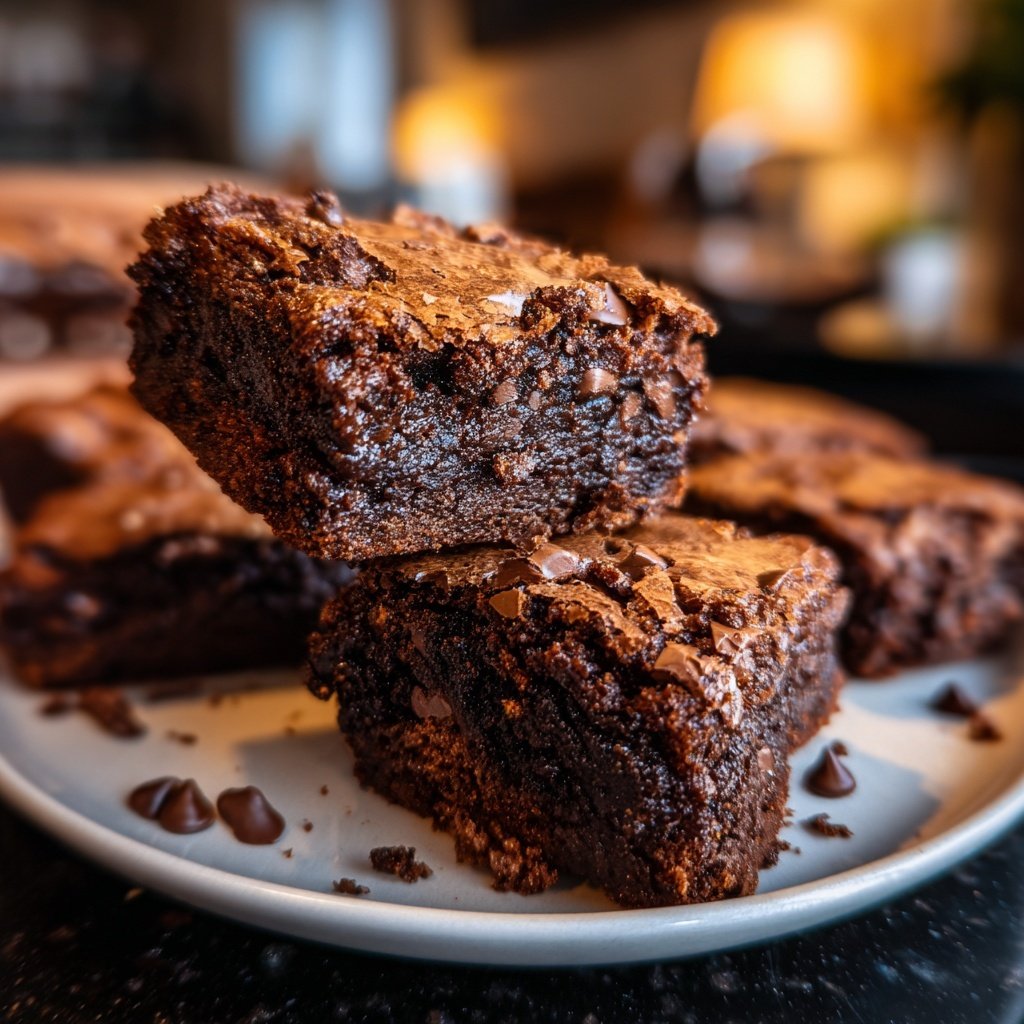
I absolutely love experimenting with my sourdough discard, and these brownies are my ultimate guilty pleasure! With a rich chocolate flavor flowing through every bite, the addition of sourdough takes them to another level of delight. The crackly top gives a comforting contrast to the fudgy, moist interior. Whenever I have some sourdough discard, I can’t help but whip up a batch of these brownies. They’ve turned into a go-to recipe for family gatherings and an indulgent treat for myself. It’s hard to resist the allure of chocolate!
When I first tried making brownies with sourdough discard, I was skeptical. But the sourdough adds an incredible depth of flavor that chocolate fans will fall in love with! I used a simple method of folding in the discard with the wet ingredients, ensuring a smooth, luscious batter that bakes beautifully.
One little trick I learned is to let the brownies cool completely before cutting them. This helps achieve that perfect crackly top and moist interior that we all crave. You can trust me; the wait is worth it!
Why You Will Love This Recipe
- Rich chocolate flavor paired with a tangy hint from sourdough
- Decadent, fudgy texture that satisfies every chocolate craving
- Unique crackly top that turns heads and tantalizes taste buds
Understanding the Role of Sourdough Discard
Using sourdough discard in these brownies not only reduces food waste but also enhances the flavor profile. The natural acidity from the sourdough balances the sweetness, resulting in a more complex taste. This tangy undertone complements the rich chocolate, making each bite incredibly satisfying. Additionally, the active fermentation in the discard can improve the brownies' texture, leading to a denser and fudgier bite. It's a win-win for sustainability and flavor.
If you're hesitant about using sourdough discard, you can experiment with different hydration levels. A thicker discard will yield a denser brownie, while a more liquid version can lighten the texture slightly. Whichever way you decide to use it, just hold on to your favorite discard each time you feed your sourdough starter—trust me, your future brownie endeavors will thank you!
Baking Tips for Perfect Brownies
To achieve that coveted crackly top, be sure to mix the sugar and eggs thoroughly until the mixture is glossy and slightly thickened before adding the sourdough discard. This aeration is crucial for developing the top layer's texture. Additionally, when incorporating the dry ingredients, fold gently with a rubber spatula. Overmixing at this stage can lead to tough brownies, eliminating the delightful fudgy consistency you're aiming for.
Keep an eye on the baking time since every oven can vary. Start checking the brownies around the 25-minute mark. You want to pull them out when a toothpick comes out with a few moist crumbs, which means they’ll continue setting as they cool. For best results, bake these brownies until the edges look slightly firm but the middle remains soft—this ensures the perfect fudgy texture.
Ingredients
Here’s what you’ll need to create these delightful brownies:
Brownie Ingredients
- 1 cup unsalted butter
- 2 cups sugar
- 4 large eggs
- 1 teaspoon vanilla extract
- 1 cup sourdough discard
- 1 cup all-purpose flour
- 1 cup unsweetened cocoa powder
- 1/2 teaspoon salt
- 1/2 teaspoon baking powder
Gather these ingredients and get ready to indulge!
Instructions
Follow these easy steps to whip up a batch of brownies:
Preheat the Oven
Preheat your oven to 350°F (175°C) and grease a 9x13 inch baking pan.
Melt Butter and Combine Ingredients
In a large saucepan, melt the butter over low heat. Once melted, remove from heat and stir in sugar, eggs, and vanilla until smooth. Mix in the sourdough discard.
Combine Dry Ingredients
In a separate bowl, whisk together the flour, cocoa powder, salt, and baking powder.
Mix Together
Gradually fold the dry ingredients into the wet mixture until just combined. Do not overmix.
Bake
Pour the batter into the prepared baking pan and smooth the top. Bake for 25-30 minutes, or until a toothpick comes out with a few moist crumbs.
Cool and Serve
Allow the brownies to cool completely in the pan. Once cool, cut into squares and enjoy!
Let these brownies cool to achieve the perfect texture!
Pro Tips
- For an extra touch, consider adding nuts or chocolate chips to the batter before baking. Just be sure to adjust baking time as necessary for your desired texture.
Storing and Reheating Brownies
To keep your brownies fresh, store them at room temperature in an airtight container. They can last up to 4-5 days, but trust me, they rarely survive that long! If you want to keep them for later enjoyment, consider freezing them. Wrap individual squares tightly in plastic wrap and then place them in a freezer bag. They can be frozen for up to 3 months; just let them thaw at room temperature before indulging.
When reheating brownies, use a microwave for that freshly-baked warmth. Pop them in for about 10-15 seconds until they're just warm to the touch. This brings out the fudgy texture without drying them out. You can also serve them warm with a scoop of ice cream for an indulgent dessert—it's truly a heavenly combo!
Variations to Try
Feel free to shake things up with additions or swaps. You can add chocolate chips, nuts, or even a swirl of peanut butter or caramel for an exciting twist. If you prefer a lower sugar approach, consider reducing the sugar by a third, as the sourdough discard provides a natural sweetness that can help balance flavors without losing the delicious texture.
For a gluten-free adaptation, substitute all-purpose flour with a gluten-free flour blend. It’s essential to check that the blend contains binding ingredients like xanthan gum to ensure that the texture remains moist and fudgy. Experimenting with these variations not only keeps the recipe interesting, but it also allows you to cater to different dietary preferences!
Questions About Recipes
→ Can I use active sourdough starter instead of discard?
Yes, you can use an active sourdough starter, but you may need to adjust the liquid ingredients slightly.
→ How should I store leftover brownies?
Store them in an airtight container at room temperature for up to 3 days, or refrigerate for longer freshness.
→ Can I freeze these brownies?
Absolutely! Wrap the brownies tightly and freeze for up to 3 months. Thaw at room temperature before serving.
→ What can I serve with these brownies?
These brownies are delicious on their own, but pairing them with vanilla ice cream or a dollop of whipped cream takes them over the top!
Sourdough Discard Brownies Crackly Top
Created by: Aileen Prescott
Recipe Type: Soft Recipes
Skill Level: Intermediate
Final Quantity: 16 servings
What You'll Need
Brownie Ingredients
- 1 cup unsalted butter
- 2 cups sugar
- 4 large eggs
- 1 teaspoon vanilla extract
- 1 cup sourdough discard
- 1 cup all-purpose flour
- 1 cup unsweetened cocoa powder
- 1/2 teaspoon salt
- 1/2 teaspoon baking powder
How-To Steps
Preheat your oven to 350°F (175°C) and grease a 9x13 inch baking pan.
In a large saucepan, melt the butter over low heat. Once melted, remove from heat and stir in sugar, eggs, and vanilla until smooth. Mix in the sourdough discard.
In a separate bowl, whisk together the flour, cocoa powder, salt, and baking powder.
Gradually fold the dry ingredients into the wet mixture until just combined. Do not overmix.
Pour the batter into the prepared baking pan and smooth the top. Bake for 25-30 minutes, or until a toothpick comes out with a few moist crumbs.
Allow the brownies to cool completely in the pan. Once cool, cut into squares and enjoy!
Extra Tips
- For an extra touch, consider adding nuts or chocolate chips to the batter before baking. Just be sure to adjust baking time as necessary for your desired texture.
Nutritional Breakdown (Per Serving)
- Calories: 380 kcal
- Total Fat: 26g
- Saturated Fat: 15g
- Cholesterol: 195mg
- Sodium: 85mg
- Total Carbohydrates: 32g
- Dietary Fiber: 3g
- Sugars: 24g
- Protein: 6g